
In December I got myself a Cricut Maker and used it to make Christmas presents but hadn’t used it much since. With no Creative Palette classes at 2nd Chance Restoration yet for 2019, I was super excited when a Cricut 101 class was announced for late February.
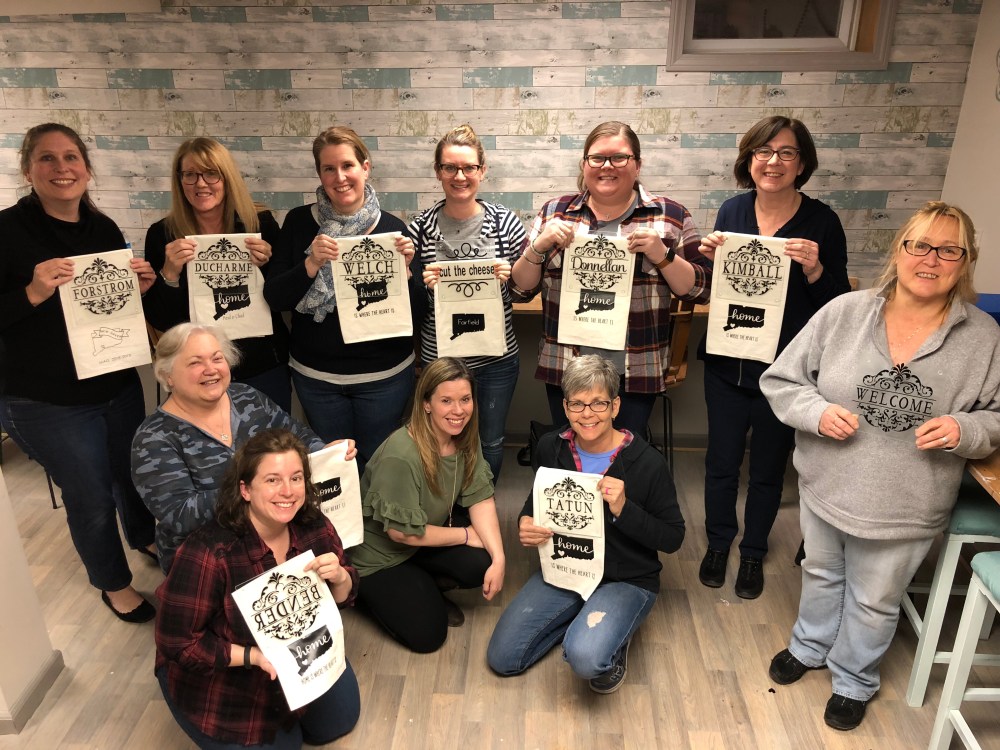
The class was held in the same location as the Creative Palette classes, but had a guest teacher; Shauna Rogg. Shauna and Kelly had the classroom set up for us when we arrived. The benches had plenty of power cords for everyone who brought their Cricut with them and they even had both of theirs available for anyone, like me, who didn’t bring their Cricut. All that was required for class was to bring your computer or iPad to log into Design Space.
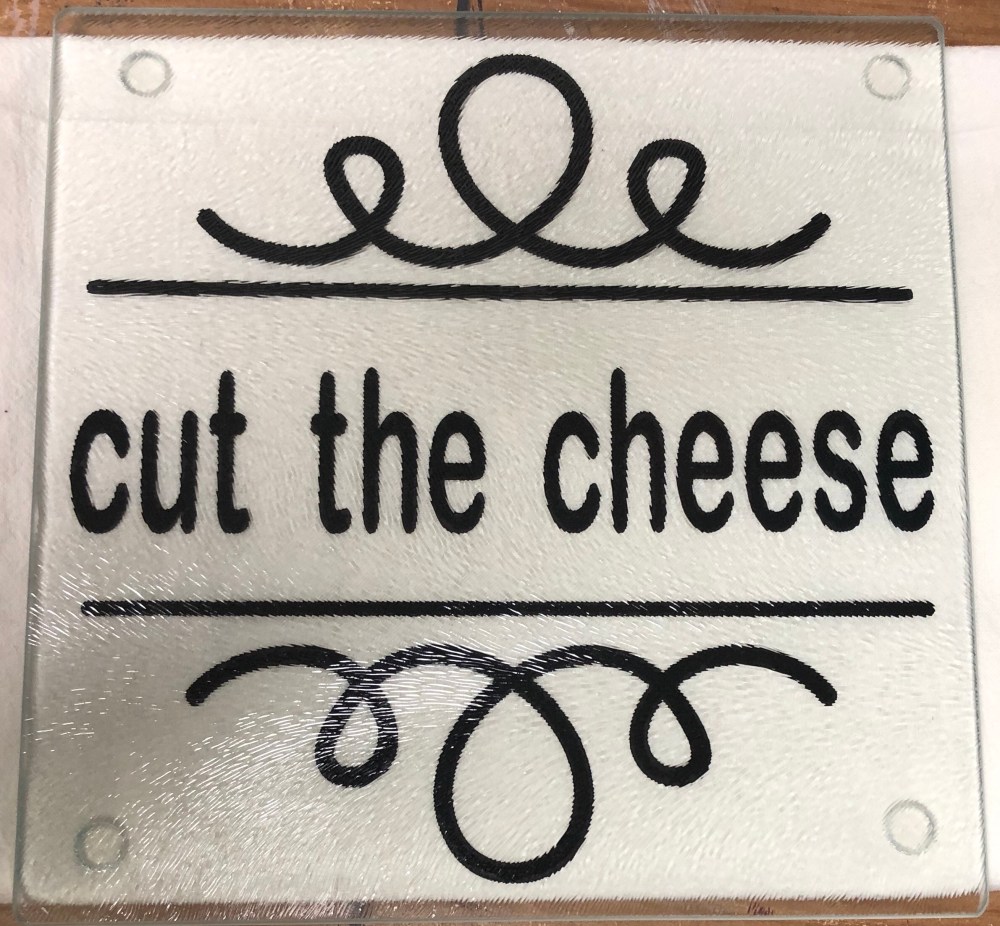
We made two projects in class that night – a cutting board and a dish towel. The first project we made was the cutting board with a vinyl decal on it. The cutting boards were 8″x8″ squares with four feet on the bottom; you can buy cutting boards like this at the dollar store, but really any size clear cutting board would do. We used border #M8109136 as the main element and then I used Soirée Lettering – Grace Script for my word to put in the middle of the border.  When we started making the projects, it dawned on me that the cutting board would be a great birthday present for my Grandma, so I used her last name in the middle. After sizing the border to the right size, I ensured the word was centered in the middle and then welded it together. Before sending the project to the Cricut, we also attached and flattened it all. Once on the printing screen, we needed to be sure to mirror the image since we would be applying it to the cutting board from the bottom. The hardest part of the night was the weeding; since the border had so many aspects, making sure you were only weeding the excess was tricky, but we all did it. Once the weeding was done, we laid out some contact paper to use for the transfer and then laid it down on the table, sticky side up. The final step was to center the vinyl on the cutting board, which was not too hard using the feet of the cutting board to temporarily put it down and once it was centered, then flipping it over and pressing the vinyl onto the cutting board before removing the transfer paper. Our final products came out so well!

Just like I used a different font for mine, there was someone who used a different border for theirs and it came out fabulously!!!
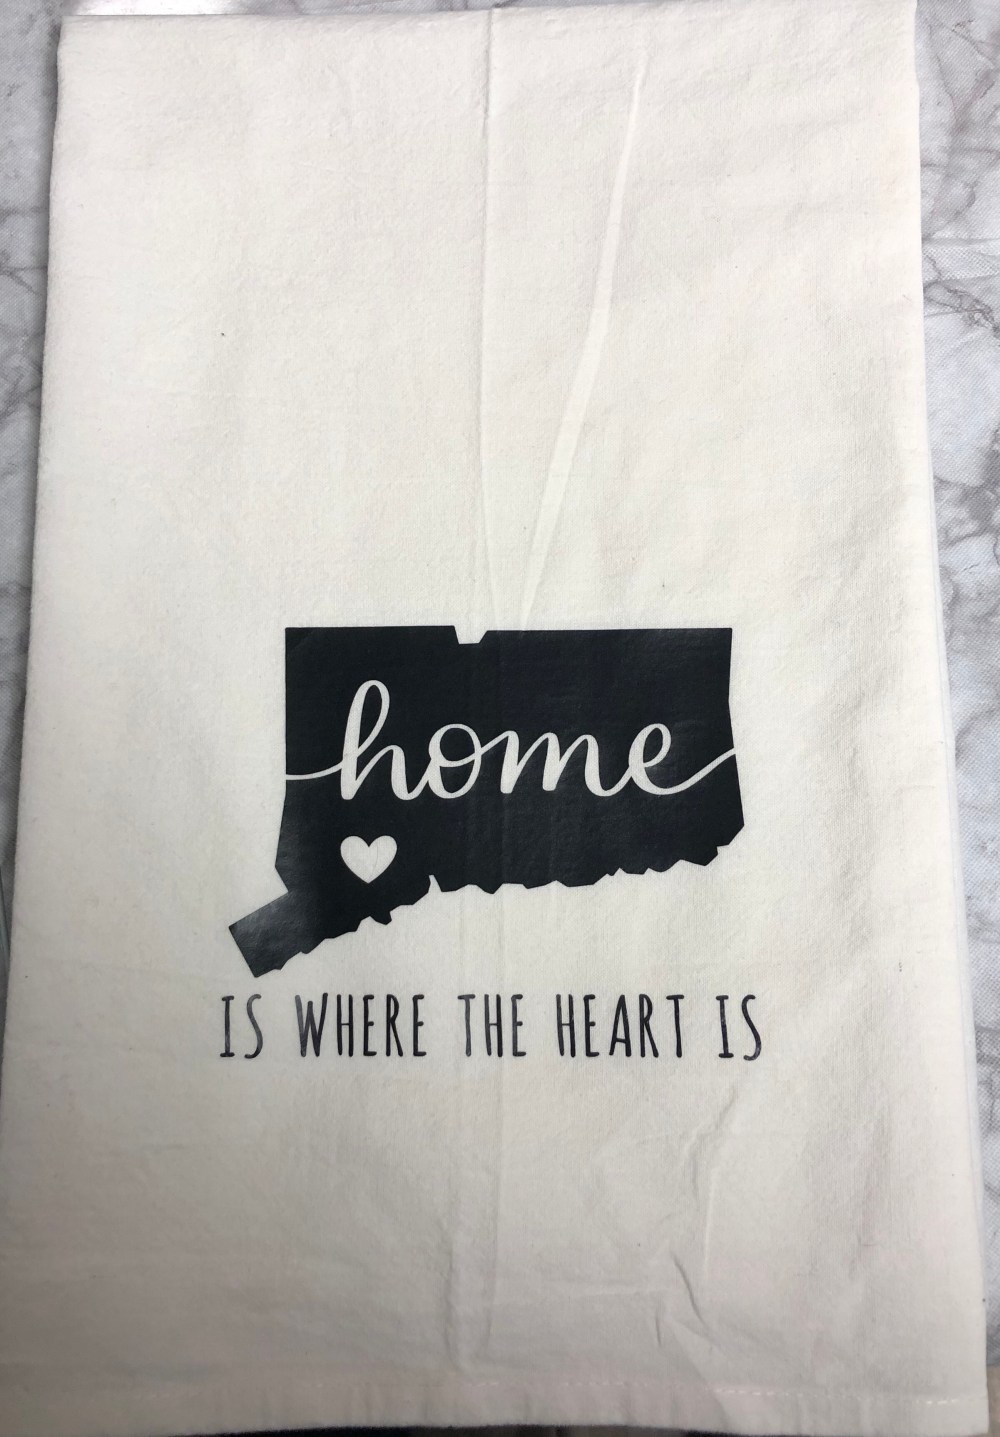
Once we all had our cutting boards done, it was time for the dish towels which we did with iron ons. Shauna got flour sack dish towels from Amazon and prewashed and ironed them for the project. Step one was to find the image of the state of Connecticut with the word home written across it. Once we had that, we inserted the heart shape over the portion of the state where our town was located.

Then using the slicer tool, we removed the heart and left ourselves with a blank heart inside the state. Then most of us added “is where the heart is” text underneath. We were now ready to print the iron-on by mirroring it and then weeding out the excess material. Once the iron-on was ready, we positioned it on the hand towel and used Shauna’s industrial t-shirt press to apply it, but you just need an iron or a Cricut Easy Press to do it yourself. The final outcome was so cute!
While I had used vinyl before, I had never thought to mirror it and apply from behind the material, and this was my first go at making an iron-on. The class was great, Shauna even sent us home with a small handout with notes from her on tips and tricks to remember when using our Cricuts. This isn’t going to be the last Cricut 101 class 2nd Chance Restoration holds, so if you’re like me and need to use your machine a bit more, you should keep your eye out and make it to one of the classes!!


One comment