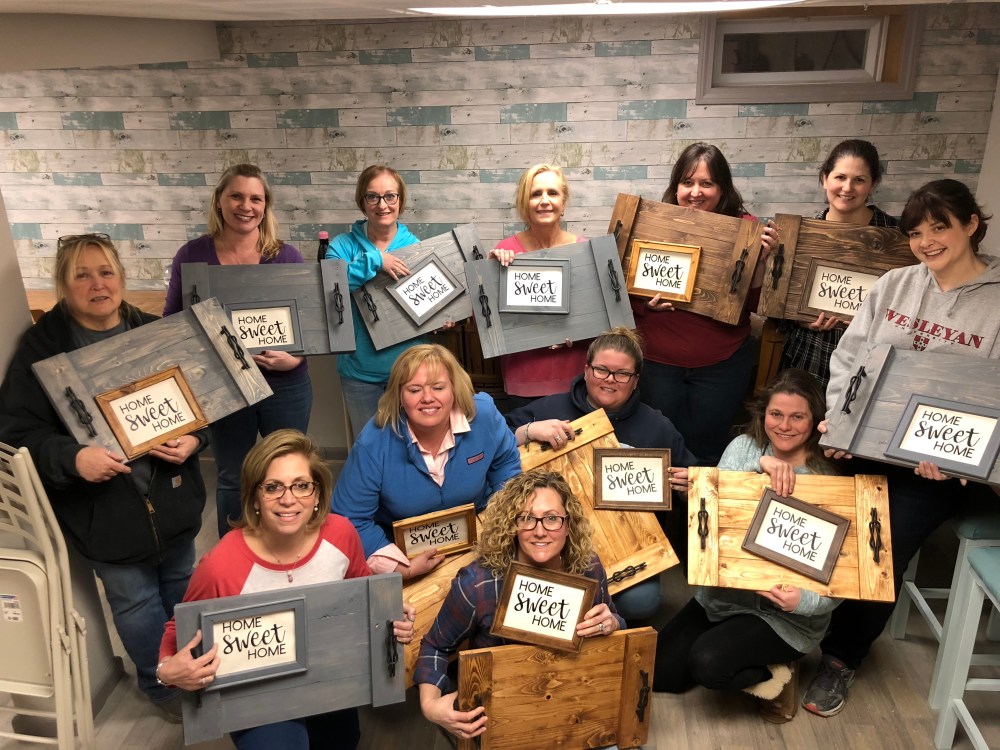
March marked the 1st Creative Palette class of 2019 at 2nd Chance Restoration! As always, Kelly had some amazing rustic/farmhouse designs picked out for our projects. We created a wooden tray and a deconstructed canvas sign during class. The wooden tray was the same one we created in February 2018; it’s important to note that Kelly tries not to do the same project again – but this one was a customer favorite and requested by many, so she caved and did it again.
We started the evening with a project that guest teacher Shauna Rogg was back for, the same Shauna from Cricut 101. Shauna passed out a blank canvas sign, such as this one which can be found at any craft store, to everyone. We took our 8″ x 10″ canvases and using an X-ACTO knife, we cut the canvas right outside the staples on the back of the frame. Once we had the canvas removed from the frame, we laid it down flat underneath the frame and taking the same knife, we trimmed the canvas to be the same size as the outer edge of the frame as we would be applying an iron-on and attaching the canvas to the back of the frame.  With the canvas ready, we took our wooden frames into the staining room and stained them. Kelly had three options of stain to pick from – a dark brown, light brown and light grey – I used a mix of the two browns. We then placed the frames on another table to dry and went back to the classroom to begin on the second project; our trays.
Kelly already had the boards cut for us; we needed two 14″ boards, four 21″ boards, 2 handles, 8 screws and sand paper. 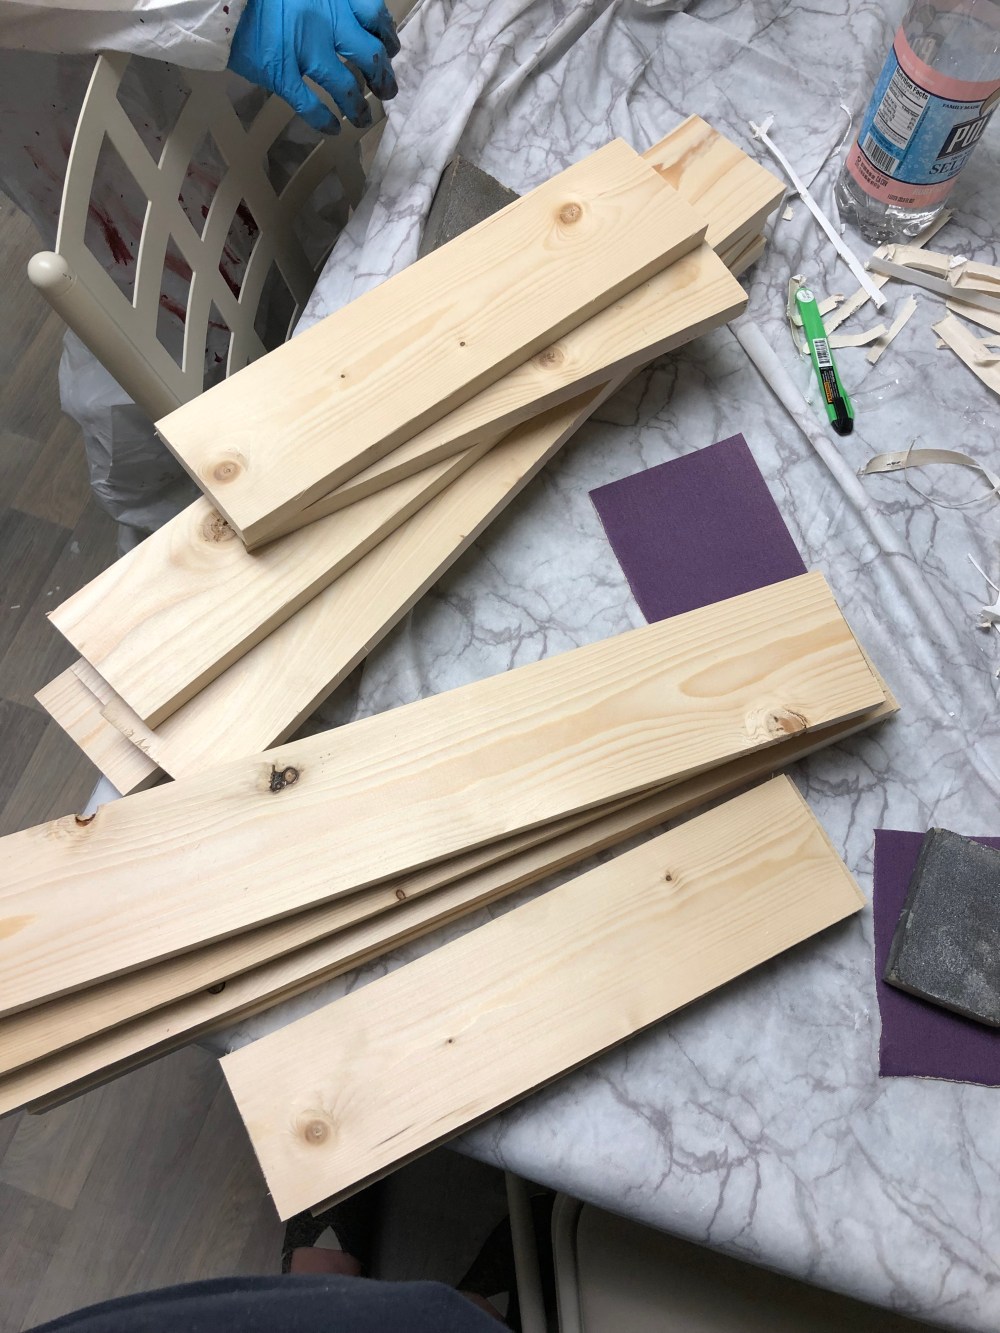 Step one was to sand all of our boards and assemble our trays upside down. The two 14″ boards which would be on the top of the tray with the handles, were set down on the table at the end of the 21″ boards perpendicular to them, laying on top. Once the trays were set up, we used a power drill to screw the long boards to the short boards from the bottom (so you don’t see them when you have the tray out and in use). We then flipped the trays right side up and measured out where we would be installing the handles, marking the spots for the handles to be attached with a permanent marker.
 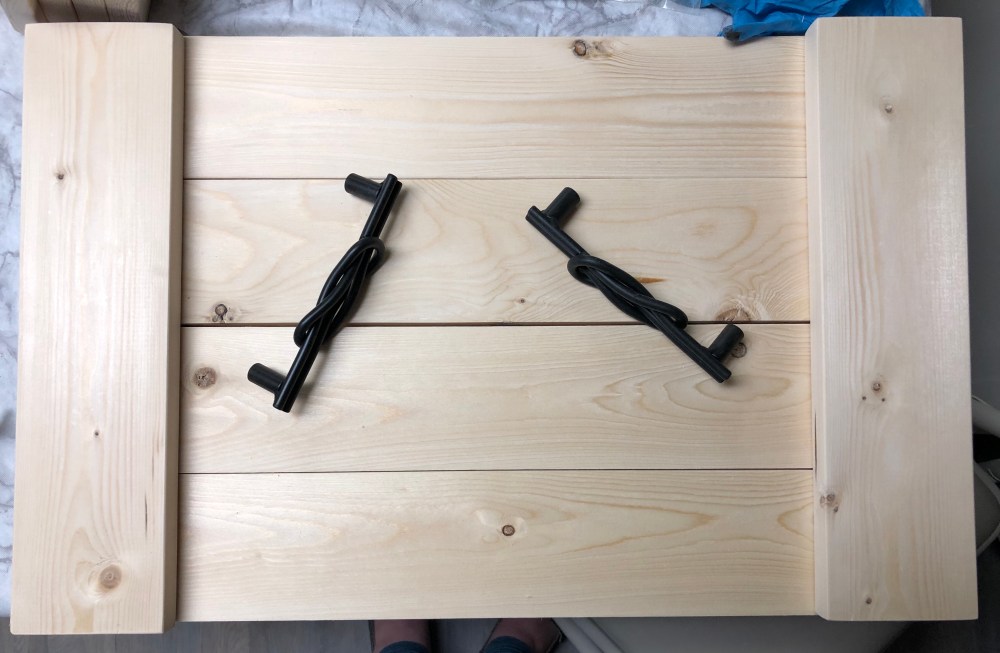 Then we headed back into the staining room to stain the tray. Last year I made a grey one, so this year I made a light brown one – the trays were then put on Kelly’s drying rack to dry.
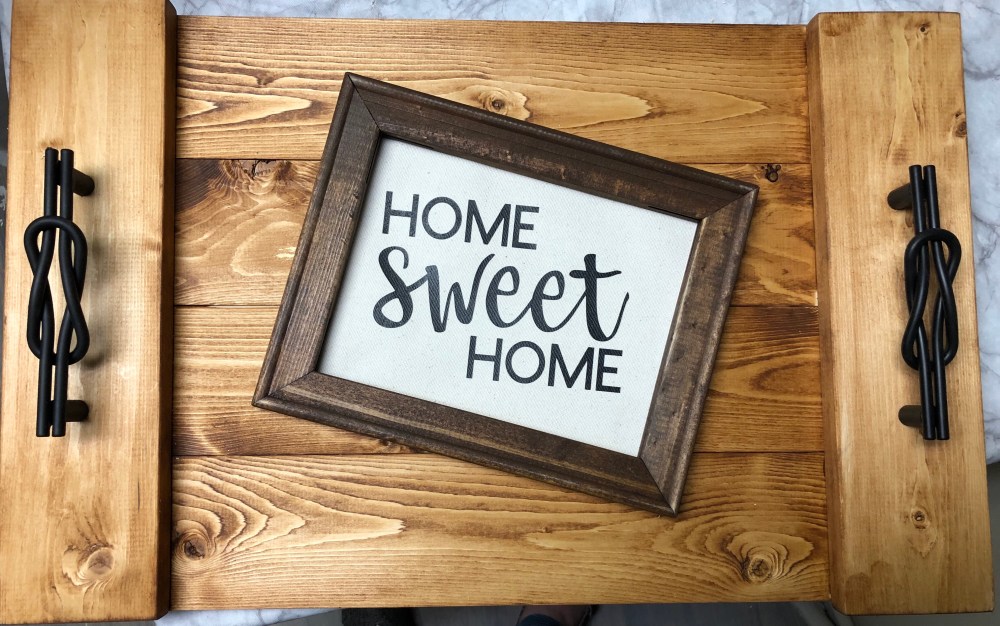
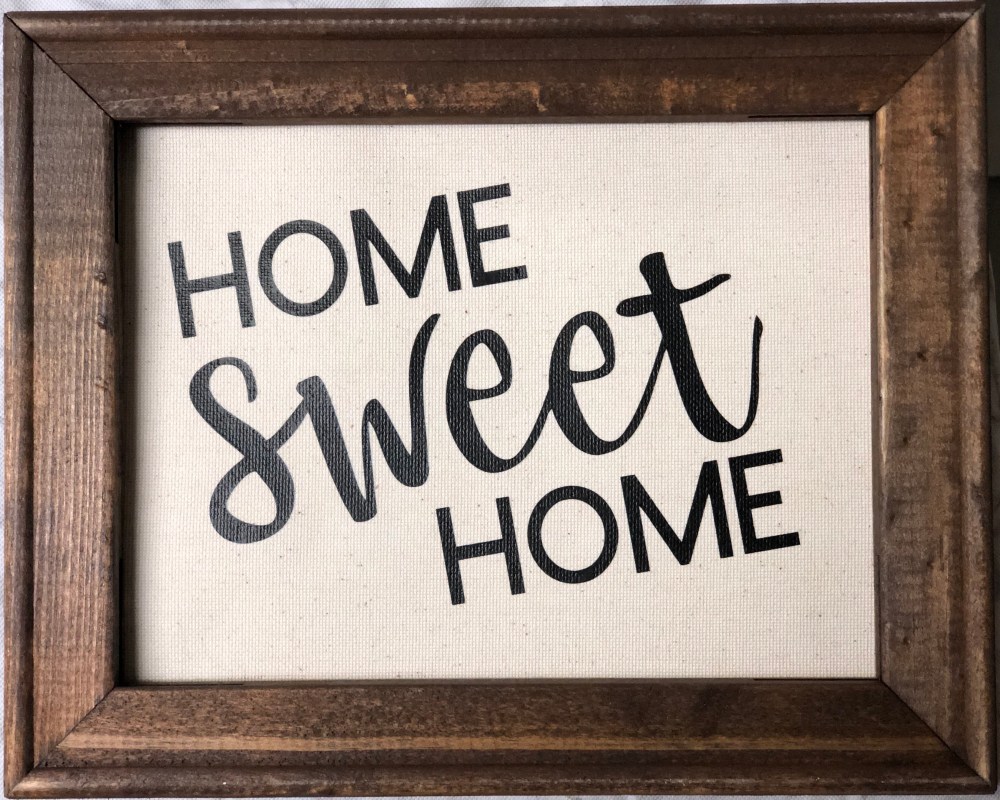
While our trays dried, we cleaned up our tables, grabbed our frames that were now dry and then got a pre-made iron-on from Shauna which said “home sweet home”. We decided where on the canvas we would put the iron-on. Many people put their phrase centered and straight, but I wanted to make mine on an angle, because I don’t like to follow all the directions exactly. Then we used Shauna’s t-shirt press to adhere our iron-on to the canvas. We let them cool a little bit and then removed the plastic from the canvas and got it ready to assemble our final product.  To finish the frame, we laid the frame down upside-down, and put the canvas upside-down on top of it, so the blank side of the canvas was facing us. Then we took a staple gun to attach the canvas to the back of the frame, and viola, we had our finished product!
It was then time to grab our dry trays and finish those up. We started by drilling holes for the handles through the tray from the top down. Then we countersunk the holes from the bottom, about 3/4 of the way through one board so the screws would reach into the handles. We then used a phillips head screwdriver to attach the drawer pulls to make our trays complete!