{Creative Palette} Cheese Tray & Crate Planter
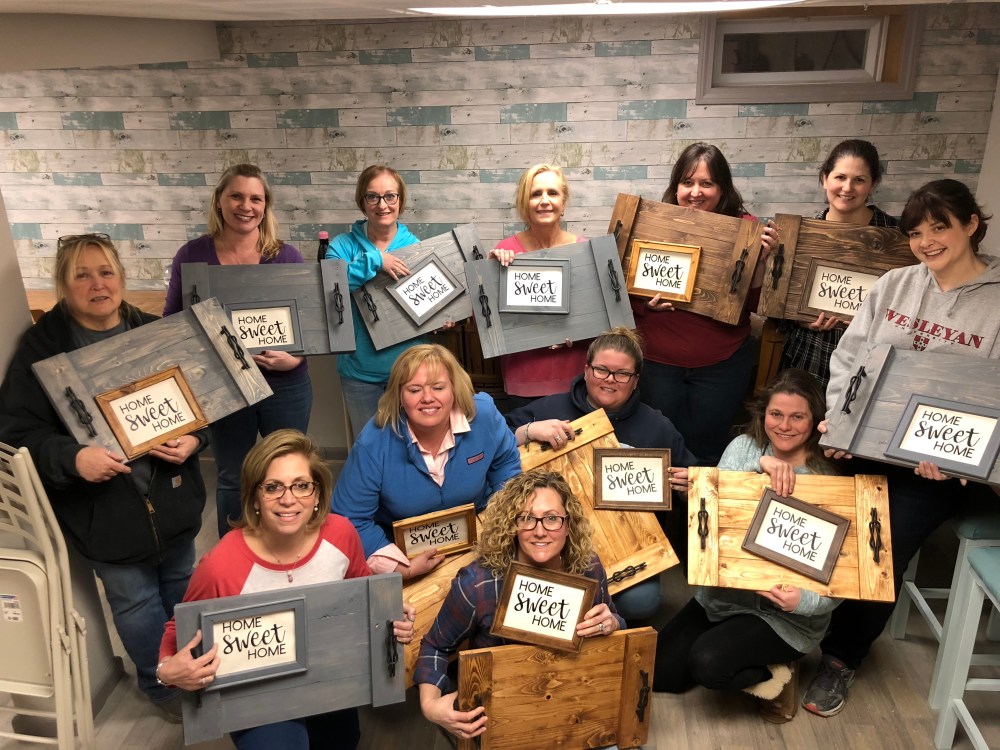
Kelly at 2nd Chance Restoration was back at her DIY Creative Palette classes in April – this month we made a cheese tray and a planter! I was super excited for the planter since spring has been long awaited and spring flowers always make everything more cheerful. 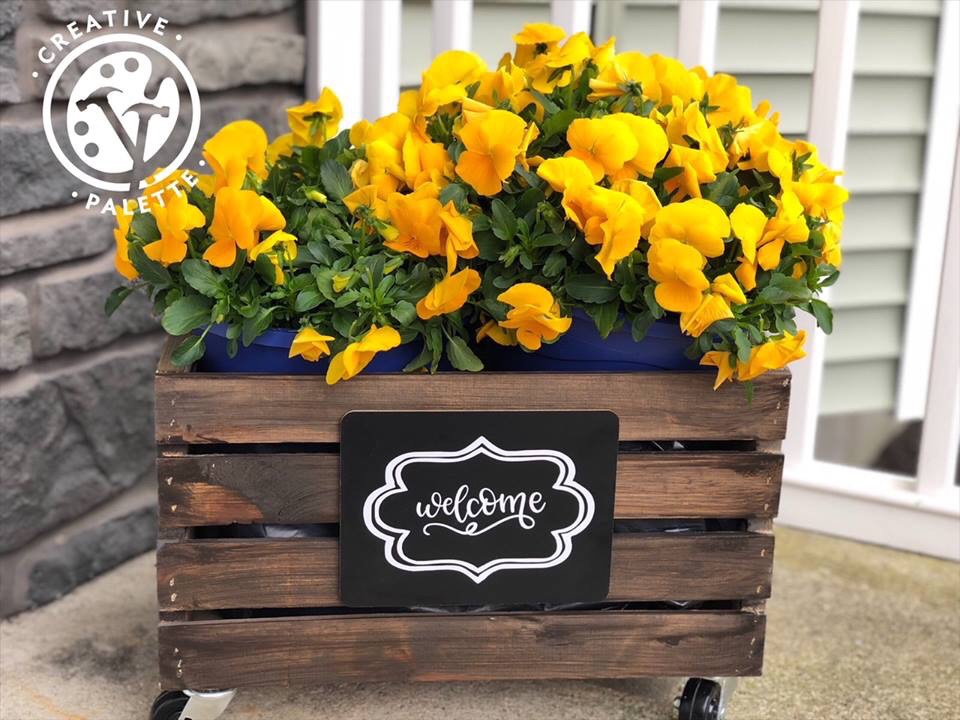
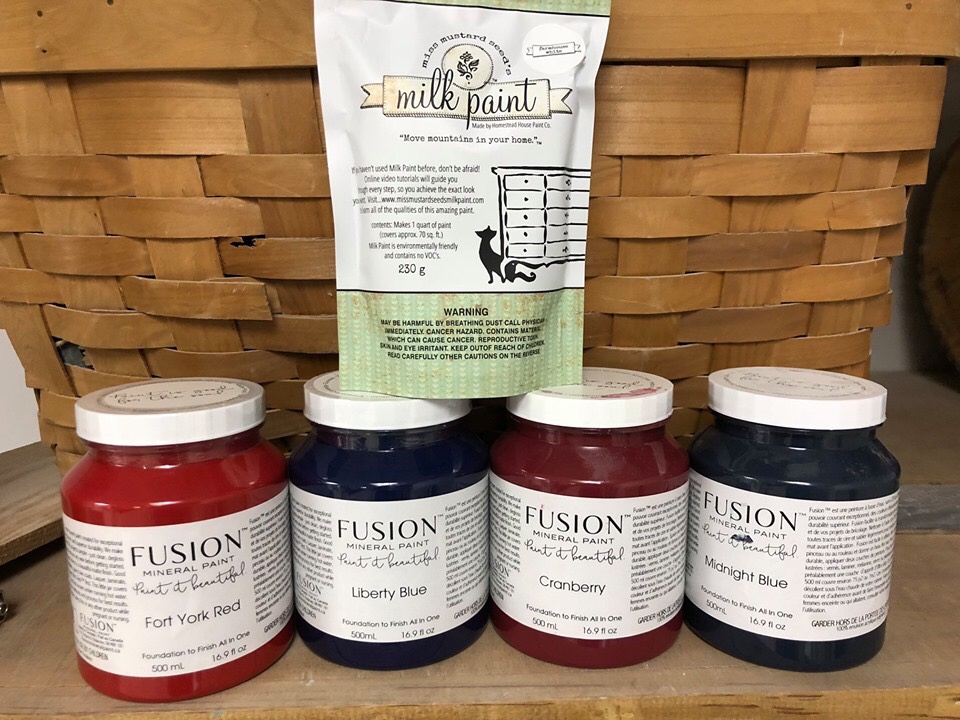
Like always, we started by sanding our first project – the planter. we started with an unfinished wooden crate, like this one you can find at Michael’s. We then stained it with a Fusion’s Satin & Finishing Oil – that would allow us to put the planters outside. Because the inside would be lined later, we only needed to stain the outside. Kelly offered a grey and a brown – I chose to do the grey. While we let those dry, we started on our cheese trays – sanding and then staining. The tray itself can be made from any piece of wood, ours were circular, though other shaped would work too! For the circle, any hardware or craft store should carry tabletops, a small one is perfect for this project. For the tray, I did brown since it’s going to be a gift, otherwise I would have done grey to match my tray I made last year!

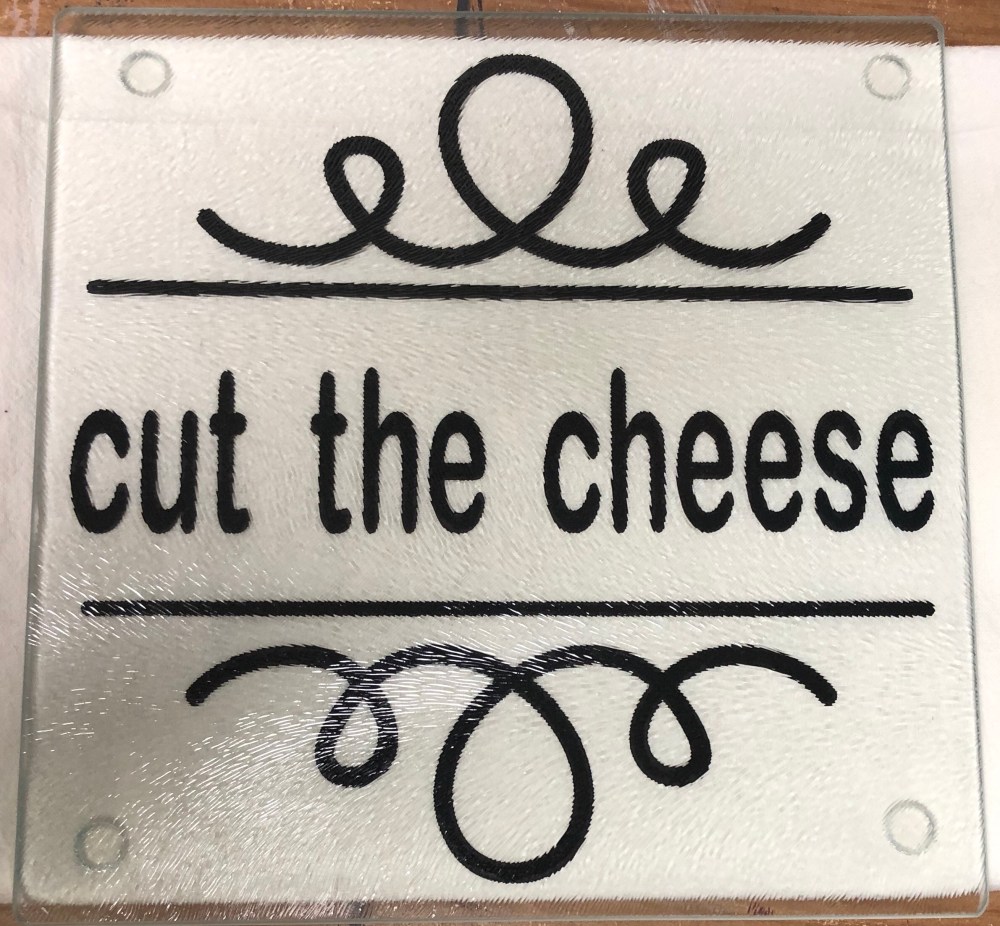
While we continued to let everything dry, we started on the cheese cutting board itself – and made them just like the ones from the Cricut 101 class I did with Shauna back at Kelly’s in February. Since these for for cheese trays, we had sayings that played on the names of cheese to pick from. Kelly had premade the vinyl cutouts, and we applied them to the back of cutting boards from the dollar store – I did a square cutting board, but she also had circular ones available.
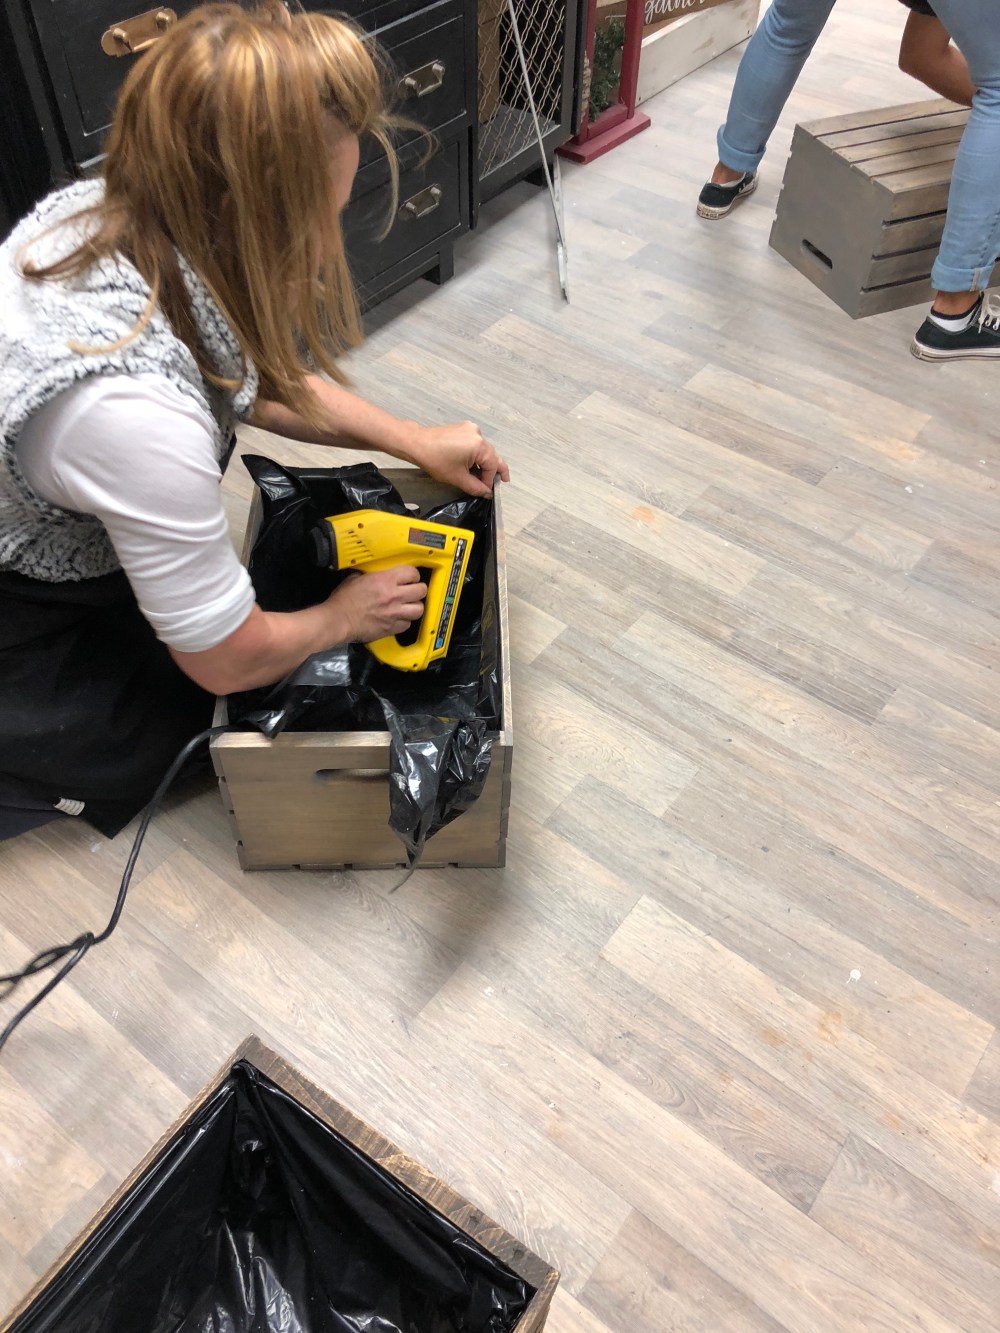
Once the cutting board was done, our planters were relatively dry – so it was time to add wheels to the bottom 4 corners. Most used a drill to make it easier to screw them on, but you know me, I had to do something differently, so I used a regular old crew driver, but it worked out just fine!  Then we took black plastic garbage bags which were cut open to be one large piece of plastic, and lined the inside of the painter, stapling the plastic to the inside of the crate; this will protect our crates from the water for the flowers we will put in them. (It’s the perfect size to put two medium size plants in their plastic planters inside the crate, just make sure to poke a few holes in the plastic before watering so the water doesn’t pool in the bottom.)
The final touch for the planter was to apply the vinyl “welcome” to the mini chalk board and then apply some Velcro to the back of the chalkboard to use that to adhere it to the outside of the crate. The best part here is you could make multiple chalkboards and change the saying for various occasions!
Once our planters were down, we needed to drill holes for the handles at each side. There really is no exact place the handles needed to be, so I put them in 1″ from the “edge” of the platter to the middle of the handle. And just as every other handle installation for me goes at Kelly’s, I needed to make a few minor adjustments to get the handles attached 😊 
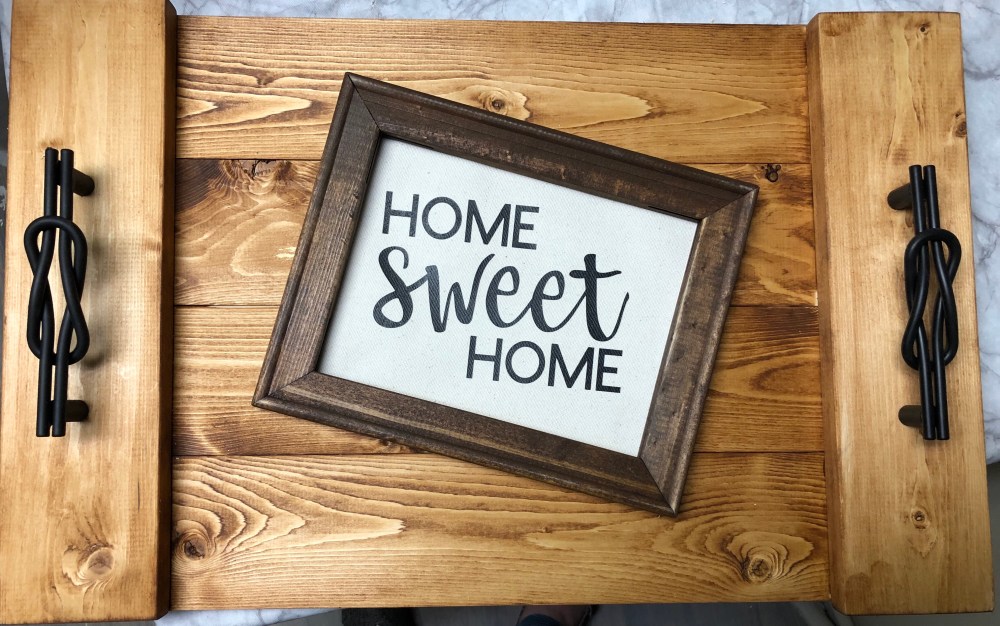
Then, with handles installed and the tray dry, we set the cutting board in the middle and our trays and planters were complete!


 With the canvas ready, we took our wooden frames into the staining room and stained them. Kelly had three options of stain to pick from – a dark brown, light brown and light grey – I used a mix of the two browns. We then placed the frames on another table to dry and went back to the classroom to begin on the second project; our trays.
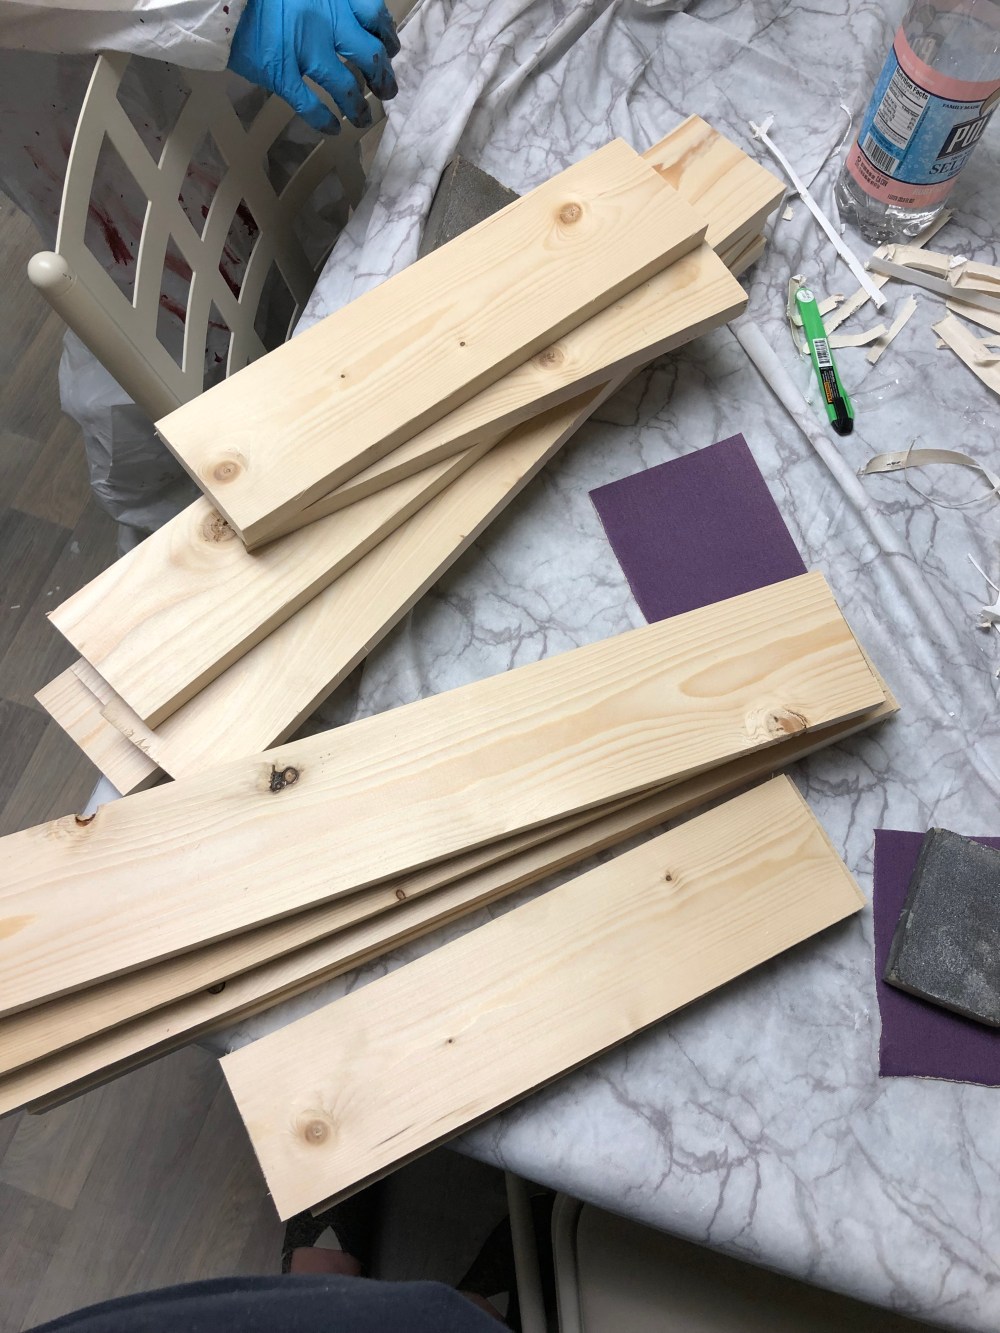 Step one was to sand all of our boards and assemble our trays upside down. The two 14″ boards which would be on the top of the tray with the handles, were set down on the table at the end of the 21″ boards perpendicular to them, laying on top. Once the trays were set up, we used a power drill to screw the long boards to the short boards from the bottom (so you don’t see them when you have the tray out and in use). We then flipped the trays right side up and measured out where we would be installing the handles, marking the spots for the handles to be attached with a permanent marker.
 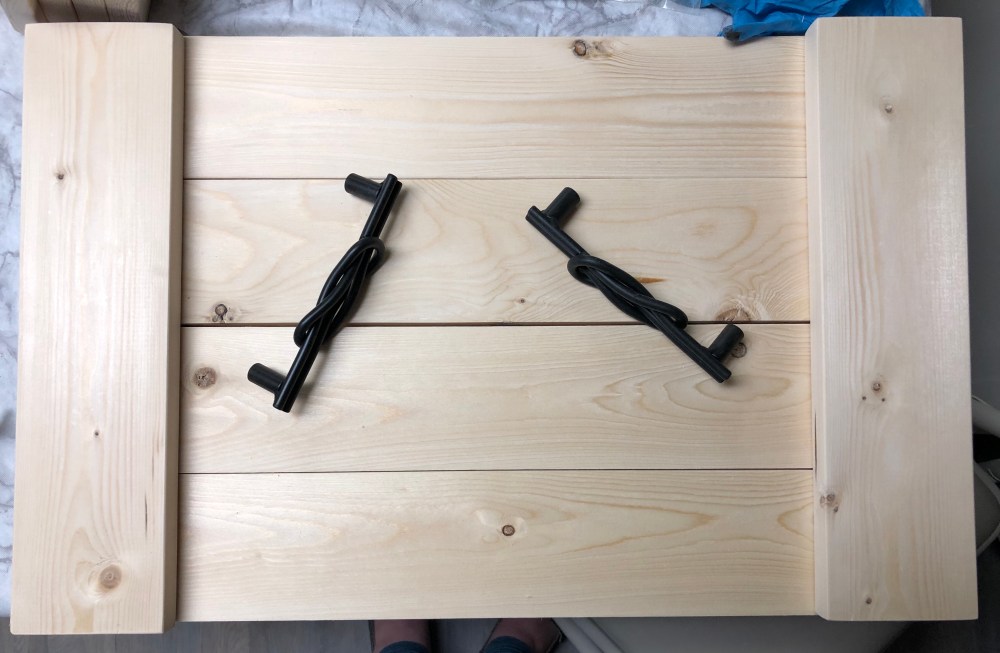 Then we headed back into the staining room to stain the tray. Last year I made a grey one, so this year I made a light brown one – the trays were then put on Kelly’s drying rack to dry.
 To finish the frame, we laid the frame down upside-down, and put the canvas upside-down on top of it, so the blank side of the canvas was facing us. Then we took a staple gun to attach the canvas to the back of the frame, and viola, we had our finished product!
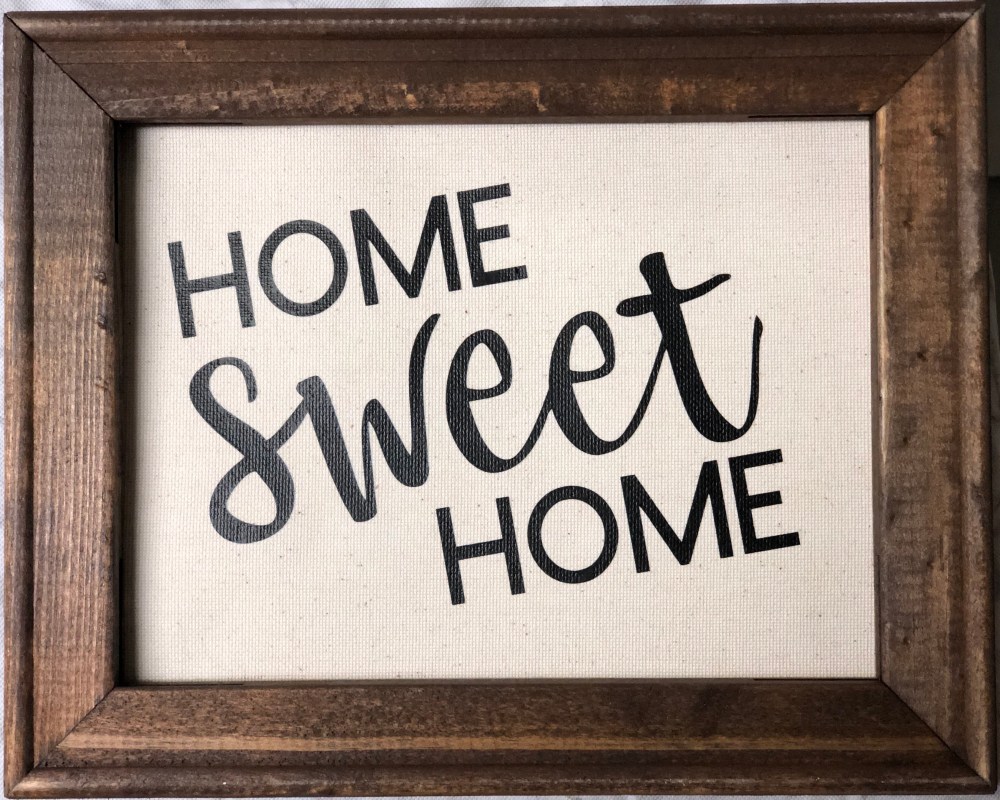

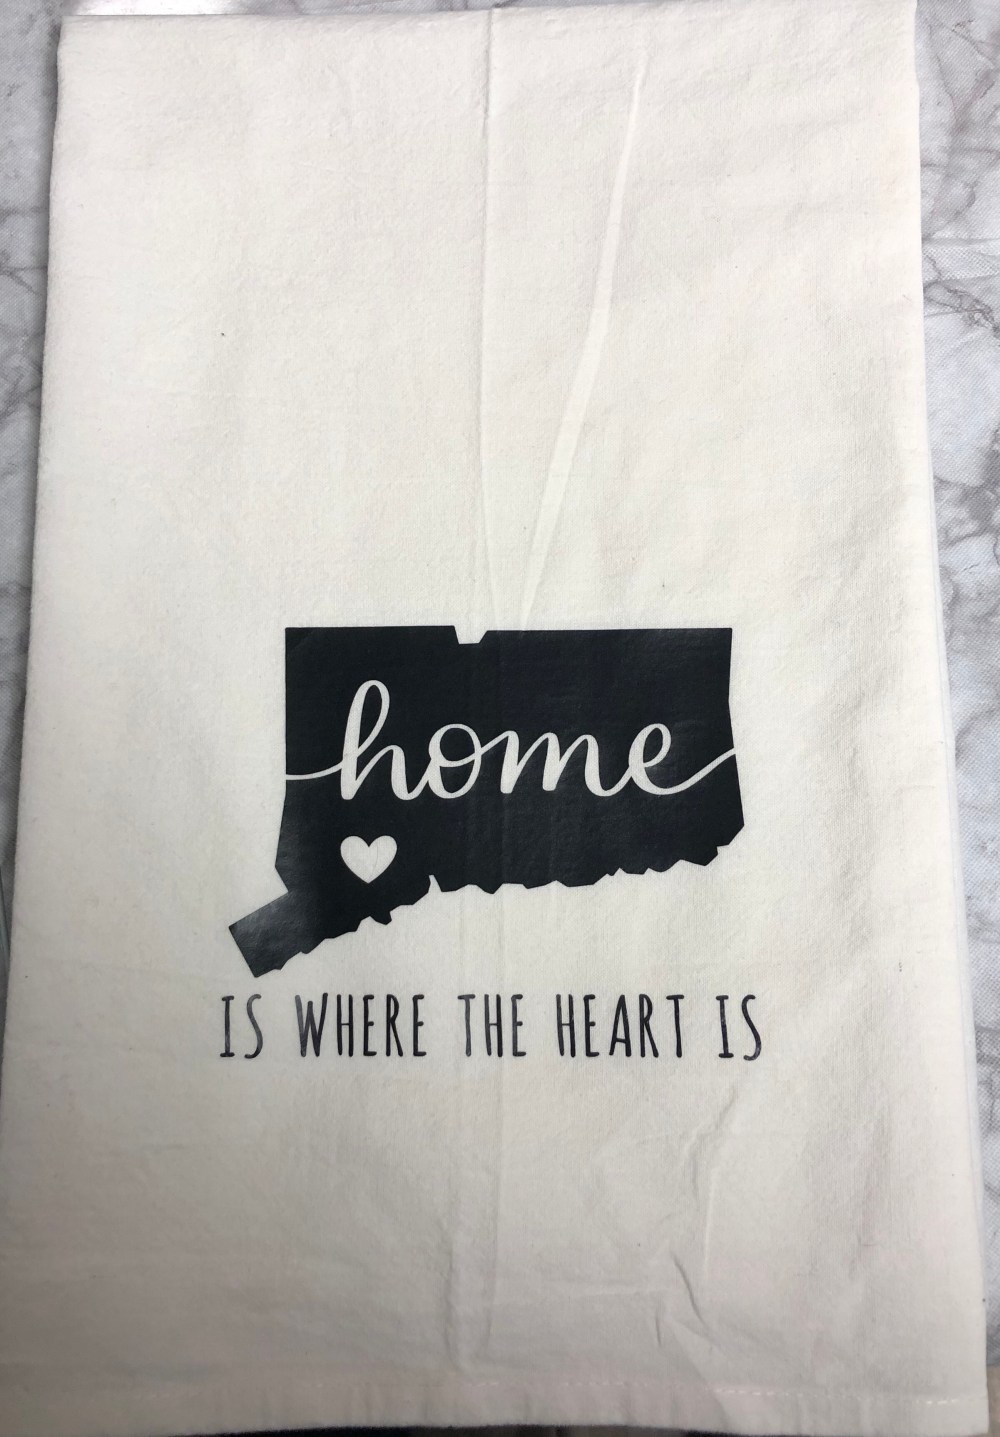
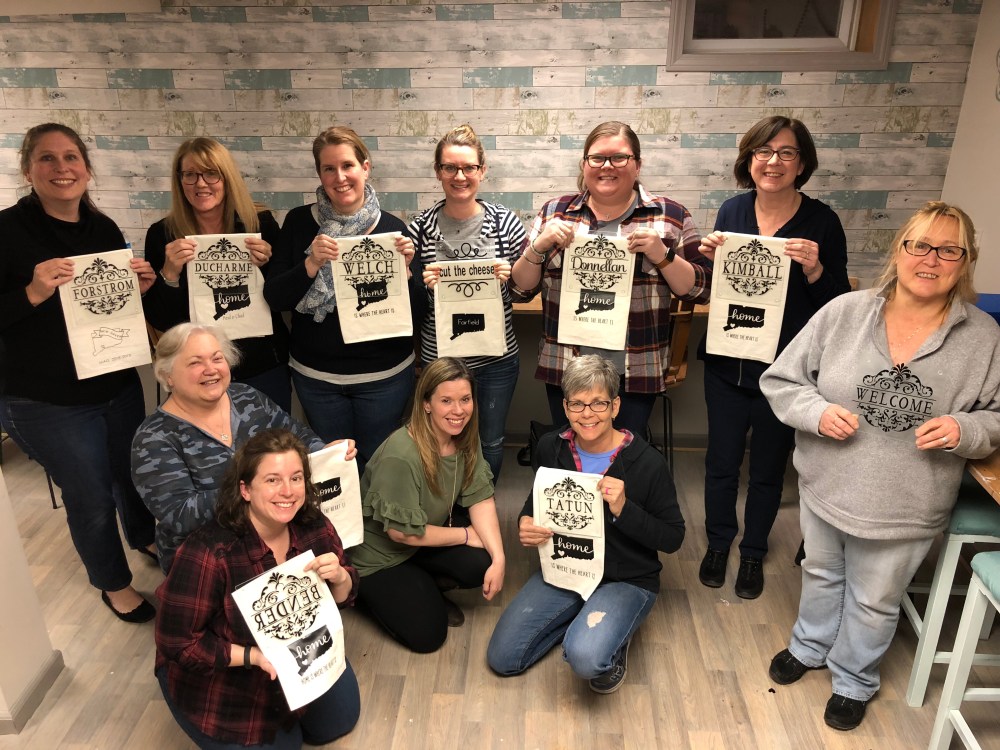
 When we started making the projects, it dawned on me that the cutting board would be a great birthday present for my Grandma, so I used her last name in the middle. After sizing the border to the right size, I ensured the word was centered in the middle and then welded it together. Before sending the project to the Cricut, we also attached and flattened it all. Once on the printing screen, we needed to be sure to mirror the image since we would be applying it to the cutting board from the bottom. The hardest part of the night was the weeding; since the border had so many aspects, making sure you were only weeding the excess was tricky, but we all did it. Once the weeding was done, we laid out some contact paper to use for the transfer and then laid it down on the table, sticky side up. The final step was to center the vinyl on the cutting board, which was not too hard using the feet of the cutting board to temporarily put it down and once it was centered, then flipping it over and pressing the vinyl onto the cutting board before removing the transfer paper. Our final products came out so well!